The Arduino editor, while functional, has never been a pinnacle of productivity and usability. PlatformIO has recently been released to bring some much needed improvements to the ecosystem. The IDE is built on top of GitHub's Atom text editor, which provides an excellent extensibility model that the Arduino IDE was sorely missing.
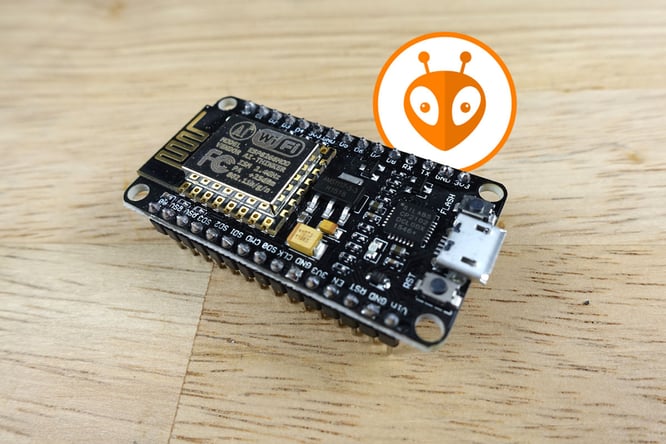
The NodeMcu ESP8266 dev board has become an extremely popular choice for an inexpensive wifi enabled microcontroller for IoT projects. Since the hardware is an open standard, they can be bought from a variety of vendors.
In my own experimentation, I've found the ESP8266 Arduino libraries and toolchain to work much better than the Lua toolchain. C++ can be more difficult than Lua, but being able to easily and reliably flash the device more than makes up for the difference. This tutorial will demonstrate how to use PlatformIO to program a NodeMcu microcontroller using the Arduino libraries.
Install PlatformIO
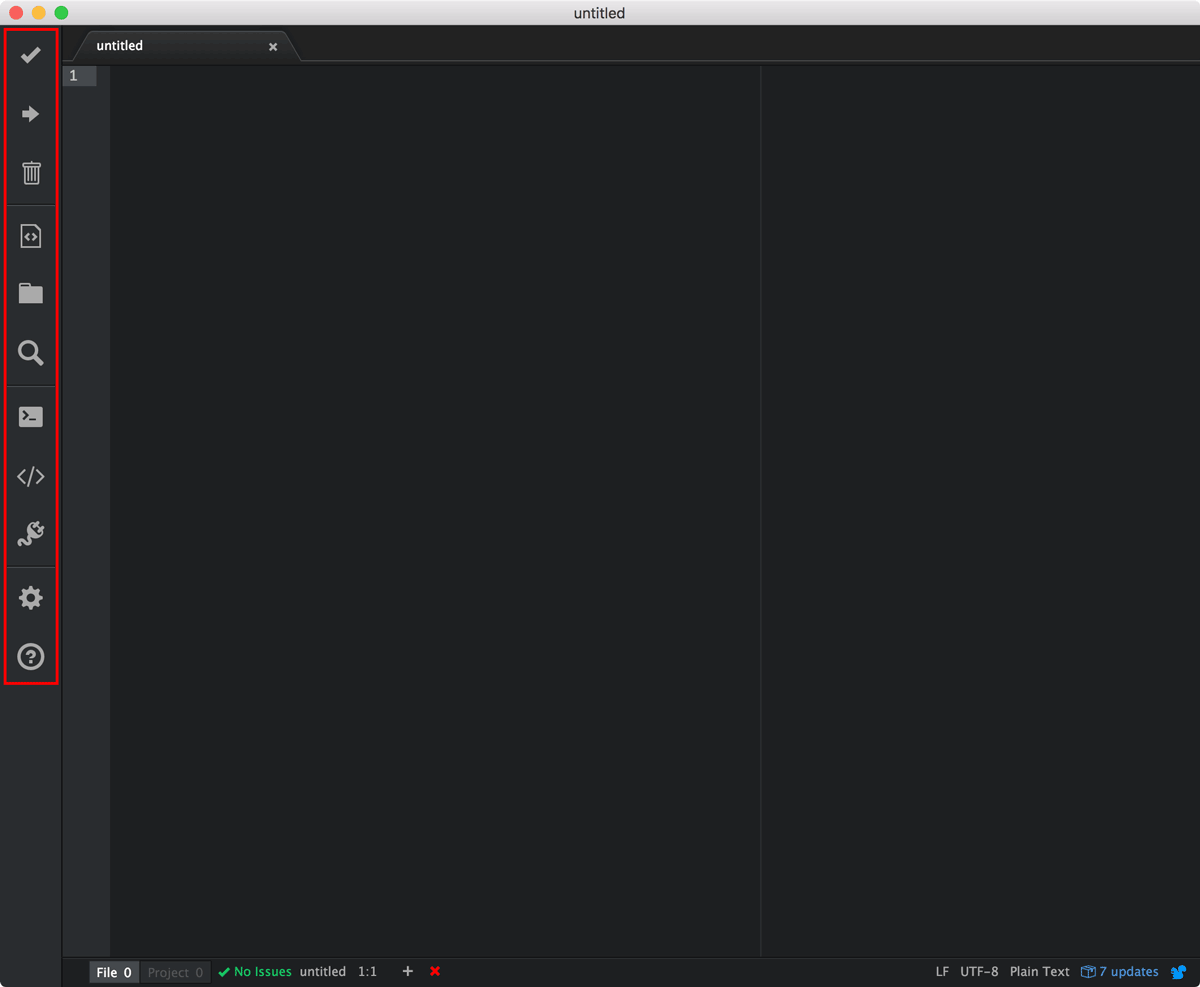
The first step is to download and install the PlatformIO IDE. If you already have Atom installed, follow these instructions to install the PlatformIO package. Once installed you should see the PlatformIO toolbar in Atom. If you don't see the toolbar, all of the options are also available in a new "PlatformIO" main menu.
Depending on how you install, you may experience the error "command not found: pio" when performing later steps in this tutorial. If you do, follow the instructions to do a manual install. For me, it was solved by running "pip install platformio" on my Mac to get the command line tools properly installed.
Install NodeMcu USB Driver
All NodeMcu boards have a USB to Serial chip that requires a driver for Windows and Mac. Download and install the driver from Silicon Labs website.
Create Project
Select the "Initialize new PlatformIO project" button and create a new project. This option is also available in the PlatformIO main menu.
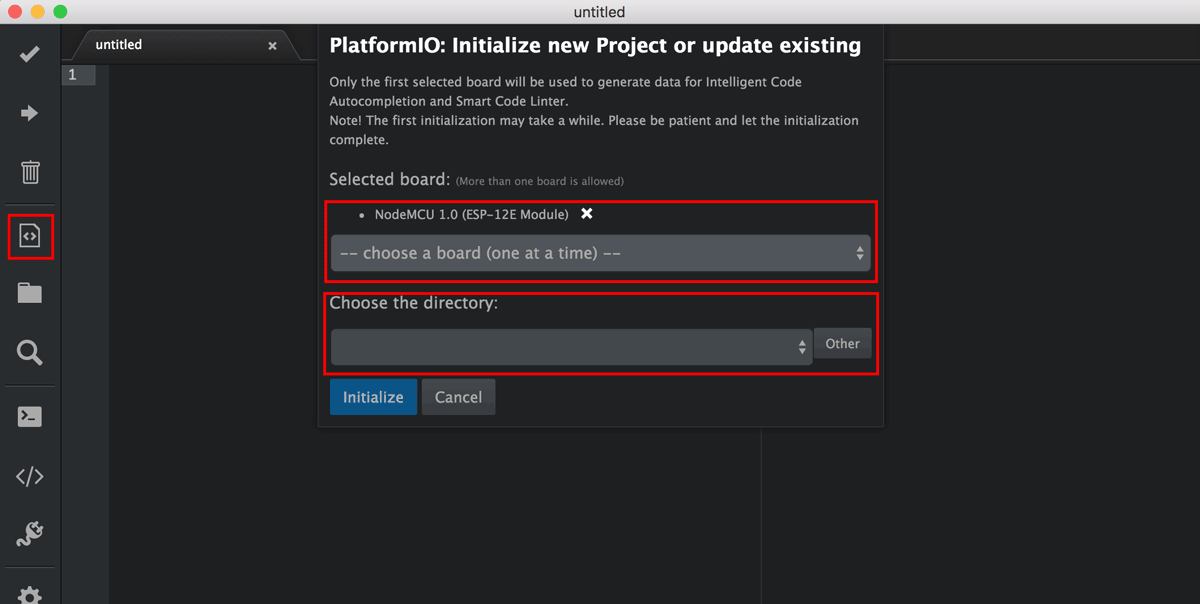
On the popup, select the board and the directory to place your project. Since we're using a NodeMcu dev kit, select NodeMCU 1.0 (ESP-12E Module) from the dropdown. As you can see, PlatformIO supports a wide variety of boards. Once you've got the options selected, click "Initialize". This will take a while the first time as PlatformIO downloads and installs the correct tools for your board. Once it's done, you'll see some automatically generated files.
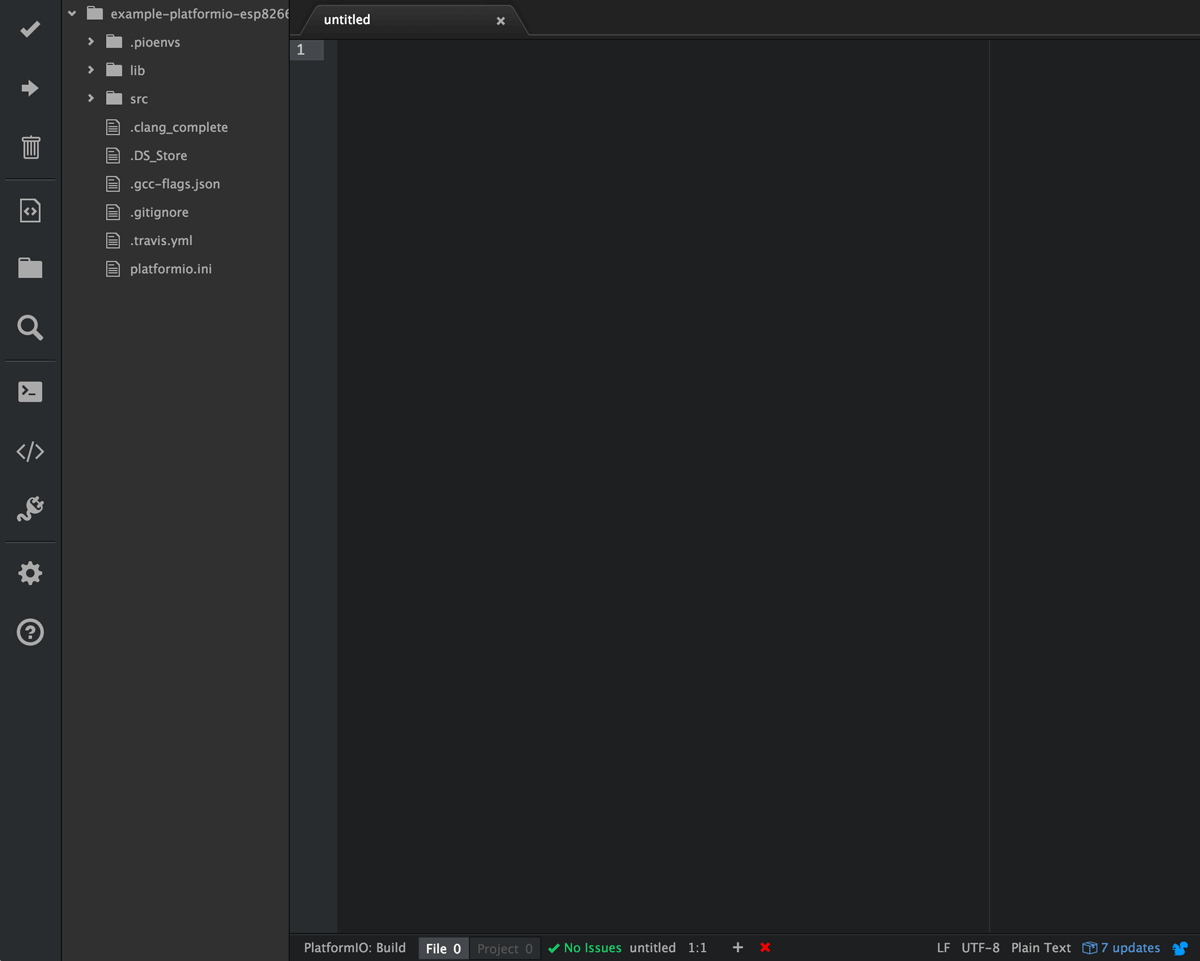
We're now ready to write some code.
 Hello World
Let's start with a basic hello world example that prints "Hello World!" to the serial output every second. Right mouse click on the "src" folder and add a new file named "main.cpp".
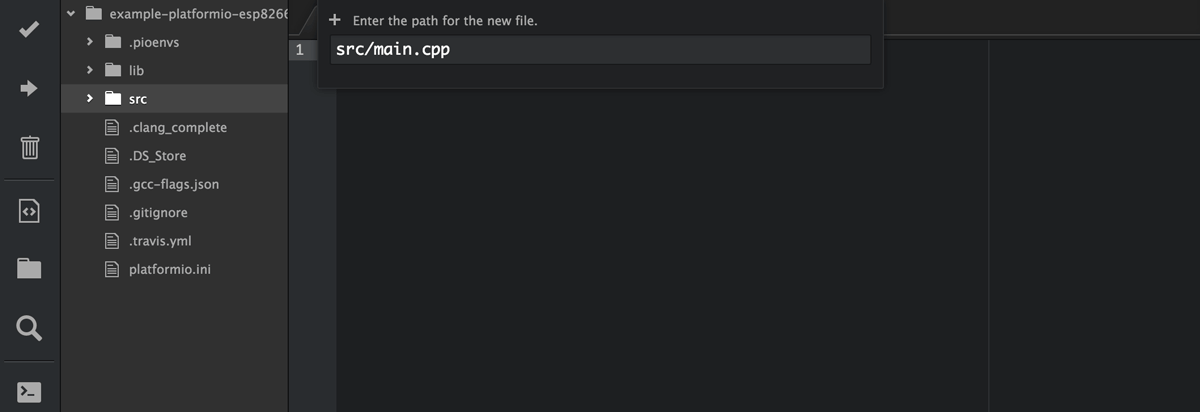
Copy paste the below code into "main.cpp".
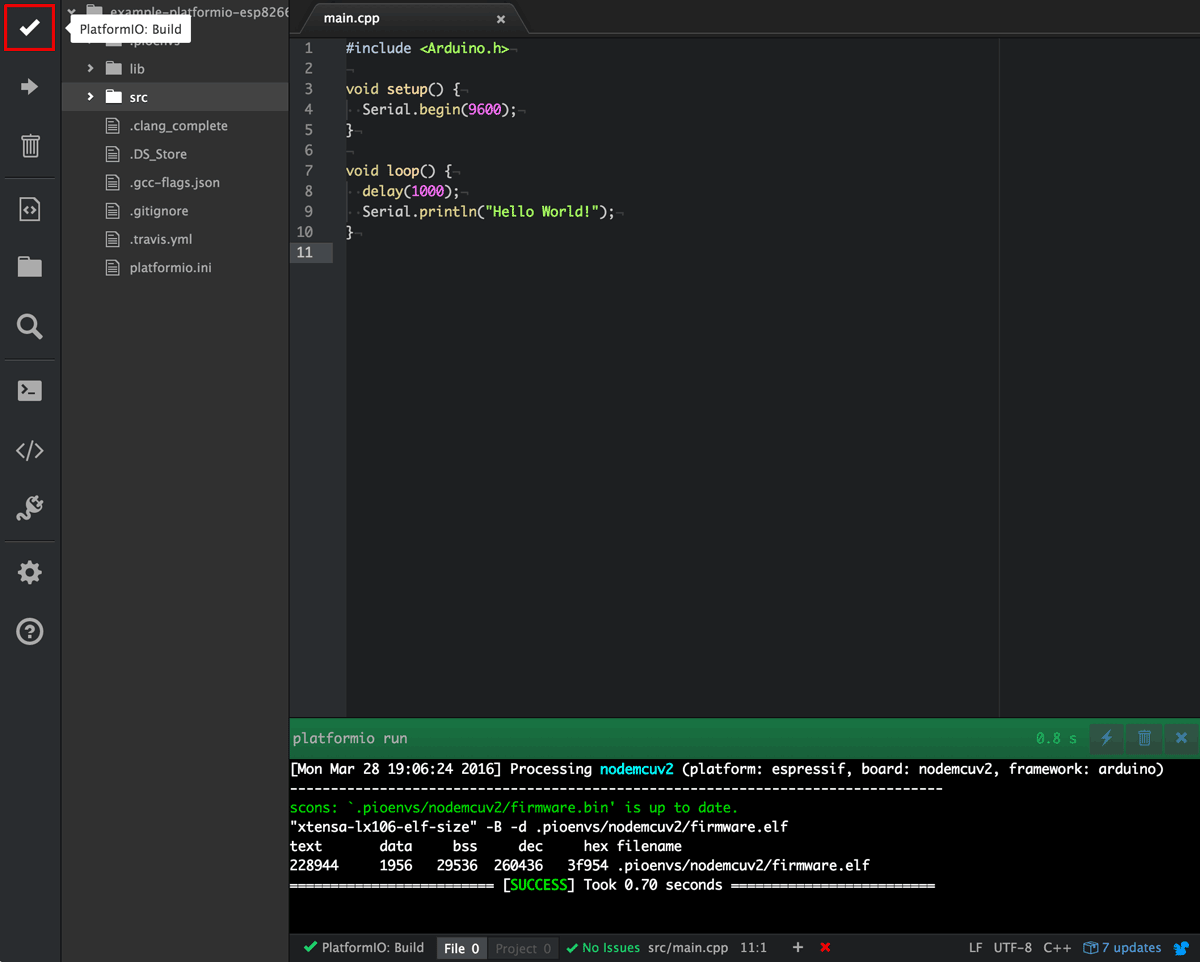
Next, hit the big checkmark icon or use the PlatformIO->Build menu to make sure everything compiled correctly. You should get nice "SUCCESS" message at the bottom.
Next, hit the "Upload" button or use the PlatformIO->Upload to flash the ESP8266 microcontroller with this firmware.
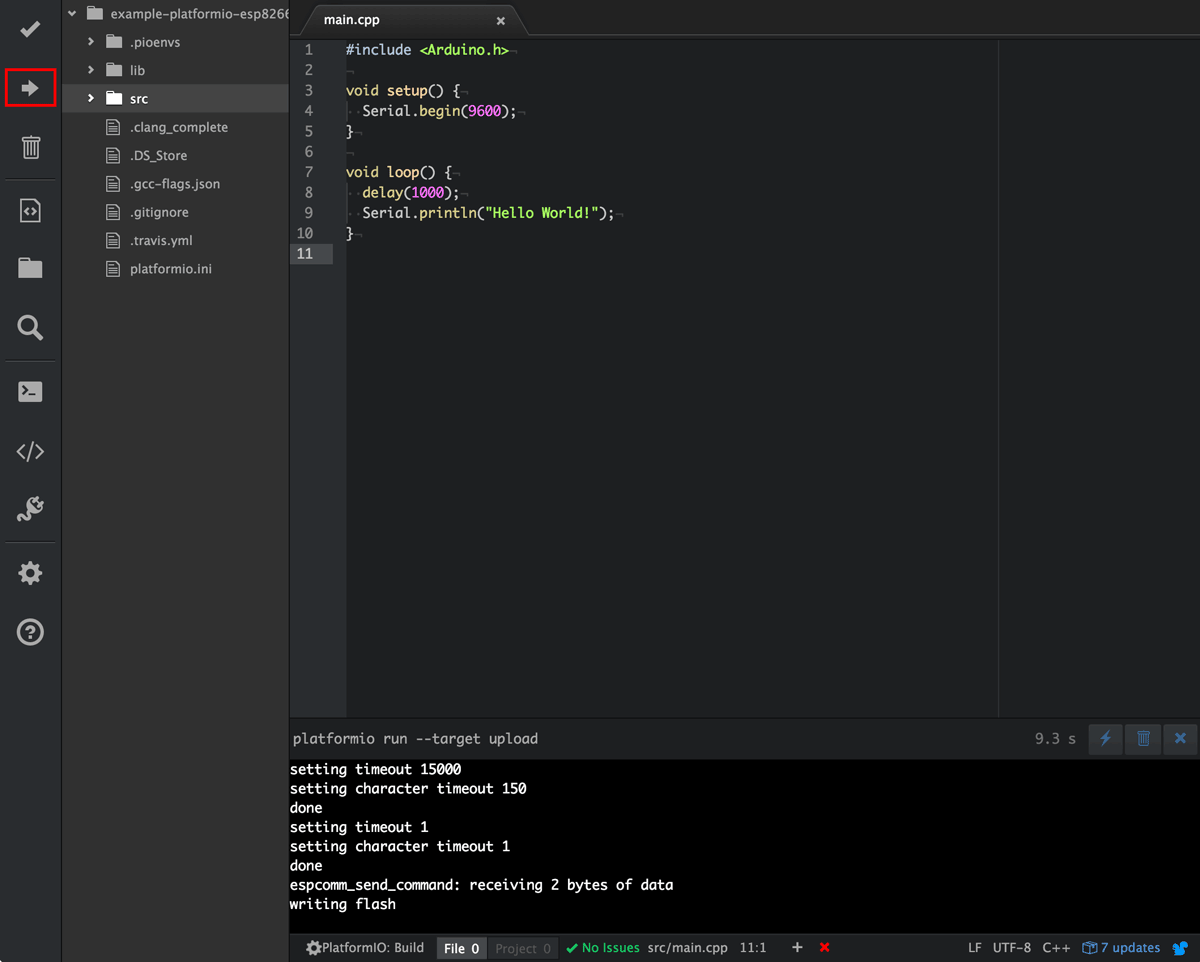
When the flashing starts you'll see some progress output on the bottom. NodeMcu's also typically rapidly flash a small blue LED when flashing.
Next, click the "Serial Monitor" button or use the PlatformIO->Serial Monitor menu to display the serial monitor.
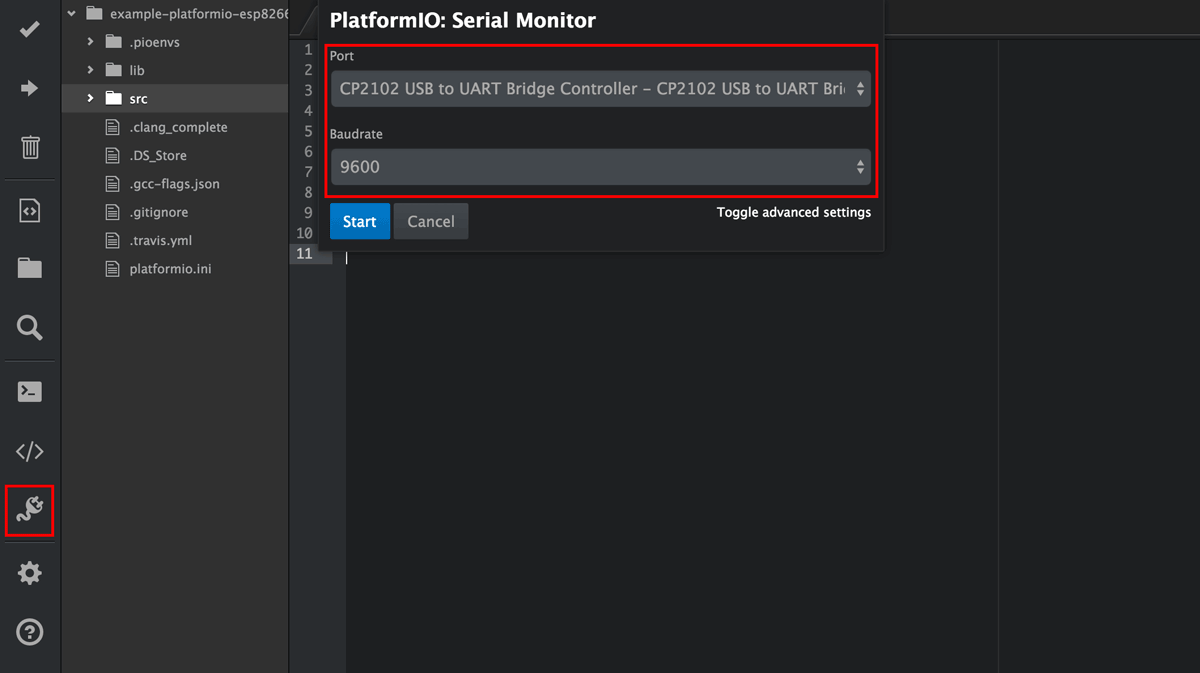
First, select the serial port to connect to. On a Mac, this will always be named something like "USB to UART Bridge". On Windows, it will be named something like "Com3". Next, select the baud rate. This should be the same value you used for the "Serial.begin()" call in the source code. For our example, we used 9600.
After you click "Start", you should start to see serial output from the microcontroller in a window at the bottom of the screen.
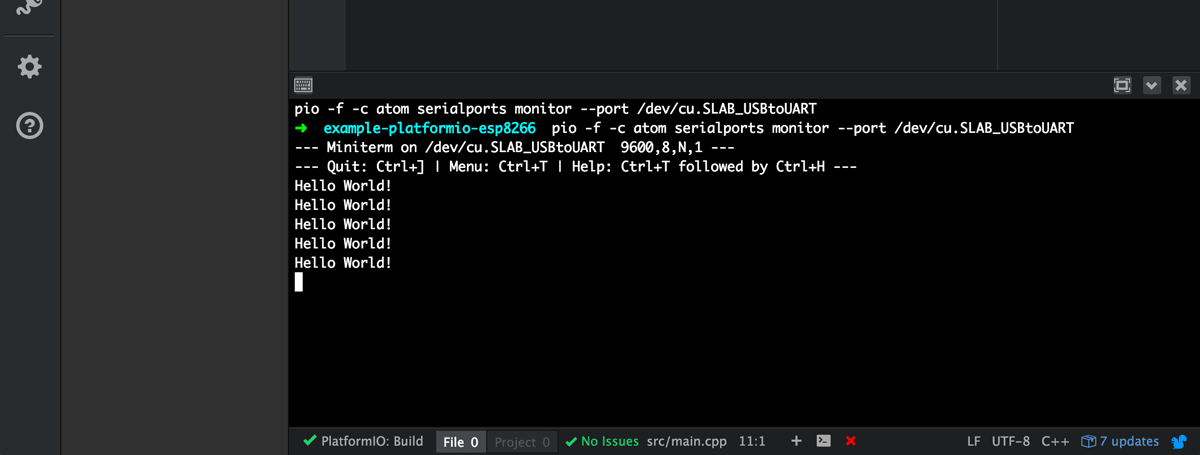
The serial monitor should print "Hello World!" once a second since.
Using Libraries and Connecting to the Losant Platform
There are a ton of already existing Arduino libraries that we can make use of when developing connecting solutions. Let's look at how to install and use existing libraries in our project. For this example, we're going to connect the device to the Losant platform. Doing this requires three libraries: losant-sdk-arduino, pubsubclient, and ArduinoJson.
First, open the Library Manager by clicking the "Library Manager" button or use the PlatformIO->Library Manager menu.
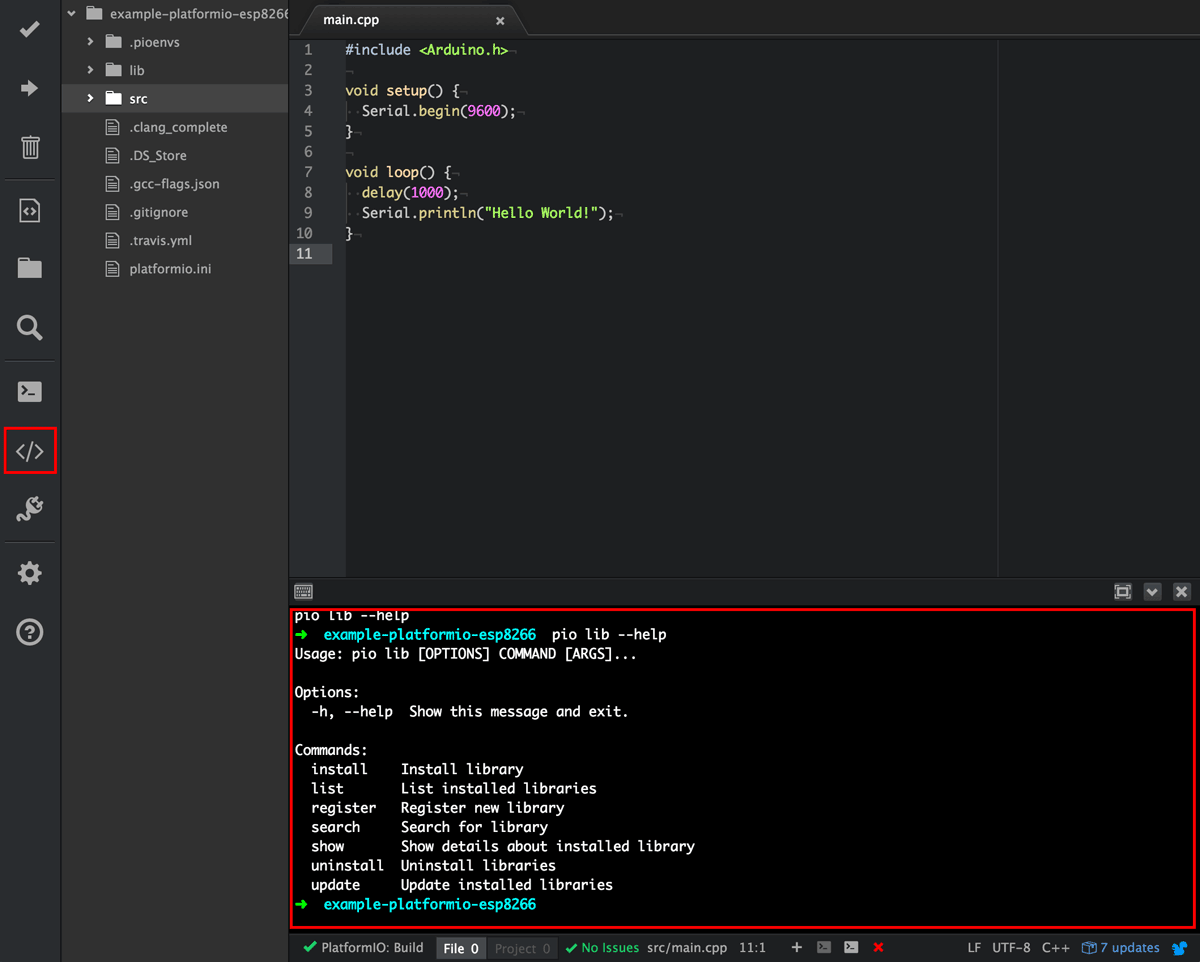
The library manager is simply a command line tool. To use it, first search for the required library, and then install it using the returned id. Let's first install the pubsubclient library.
> pio lib search pubsubclient
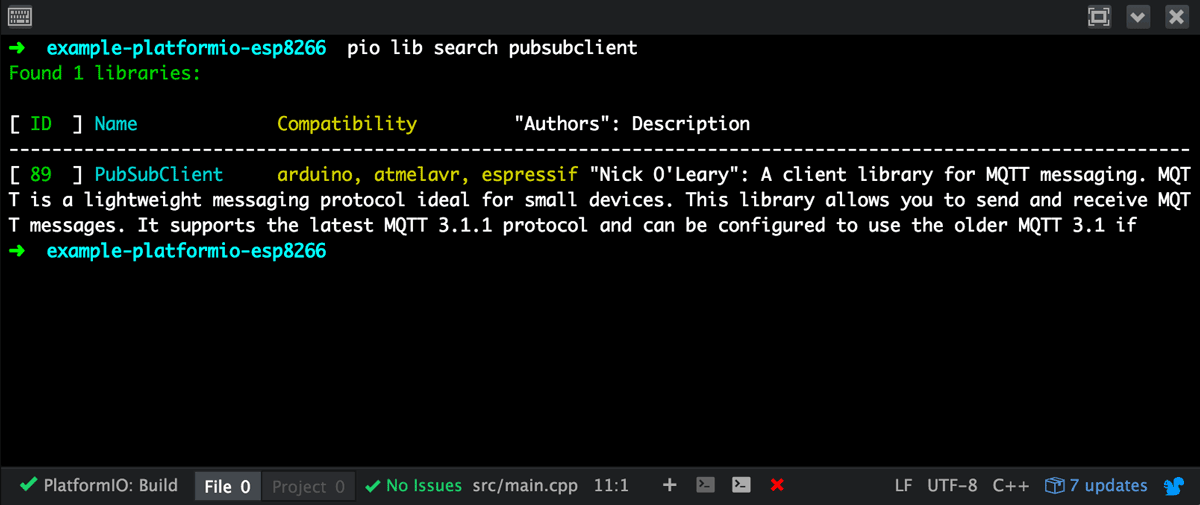
Once you see the result, you can install the library using the ID, which is "89" for the PubSubClient library.
> pio lib install 89
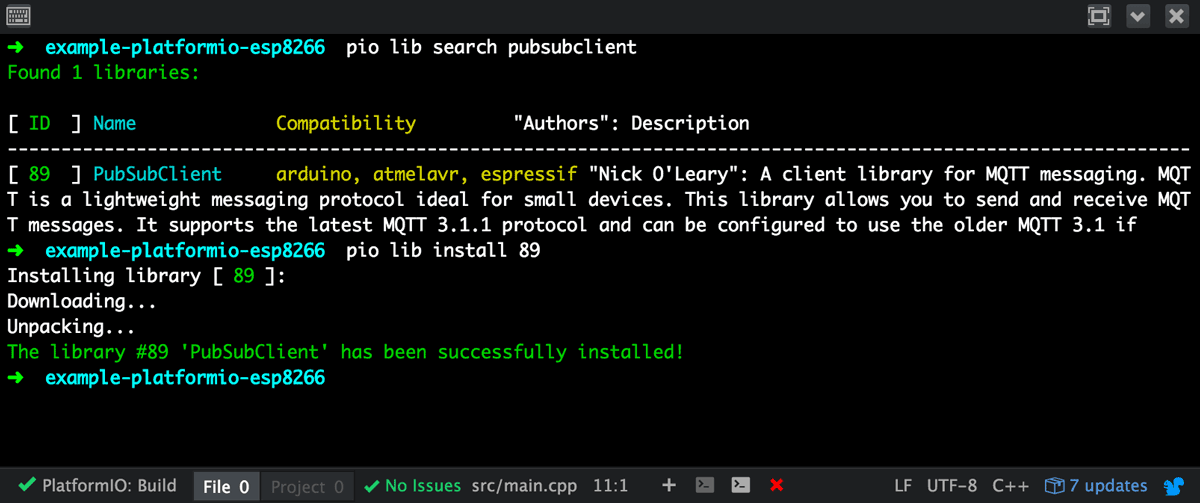
Repeat the same process for the ArduinoJson library. It's called just "Json" in PlatformIO's library manager.
> pio lib search json
> pio lib install 64
The Losant SDK is not yet in PlatformIO's library manager. You'll need to first clone it into your project's "lib" folder. Click the "Terminal" button or use the PlatformIO->Terminal menu to bring up a new terminal. Once open, run these commands.
> cd lib
> git clone https://github.com/Losant/losant-sdk-arduino
You now have all required libraries installed. You can now connect the device to Losant using the example ESP8266 code from the SDK repo.
When I copy-pasted the example code into the editor, PlatformIO showed some incorrect compile errors. Hit the "Build" button to see if it succeeds. It appears as though the inline error checking still needs some tweaks.
The ESP8266 example code from the SDK repo demonstrates everything required for basic input reading and communication with the Losant Platform. It's now up to you to build something amazing - maybe a Twitter activity globe?
All-in-all, PlatformIO is a major step forward for the development ecosystem. It has completely replaced my day-to-day environment. The library management system is a much needed addition and will bring major productivity boosts to embedded development.
